Potential Scam Alert: Protect yourself from scams and identity theft. Learn more or report suspicious activity here.
Welcome to Bloom
We are excited to have you join us!
To kickstart your onboarding process, we created this guide to setting up your equipment, setting up your Duo Mobile and Bloom account, and finally completing setup by logging into your computer.
If you run into any issues during this guide, please feel free to contact the Helpdesk at: 812-496-6060.

Included In This Guide
DUO Mobile Setup
Step 1:
On your smartphone, open your app store (either “Appstore” for iPhone or “Play Store” for Android) and search for DUO Mobile. Install the DUO Mobile application.
Step 2:
Once installed, open the DUO Mobile app. Approve any prompts that pop up after opening the app. Note: You do not need to use a QR code, activation code or sign in manually. The next step will do that automatically for you.
Step 3:
During the process of IT creating your accounts, you should have received a text message with instructions to install (if you have not already) and to activate your Duo Mobile app. Click on the link to activate your Duo Mobile app.
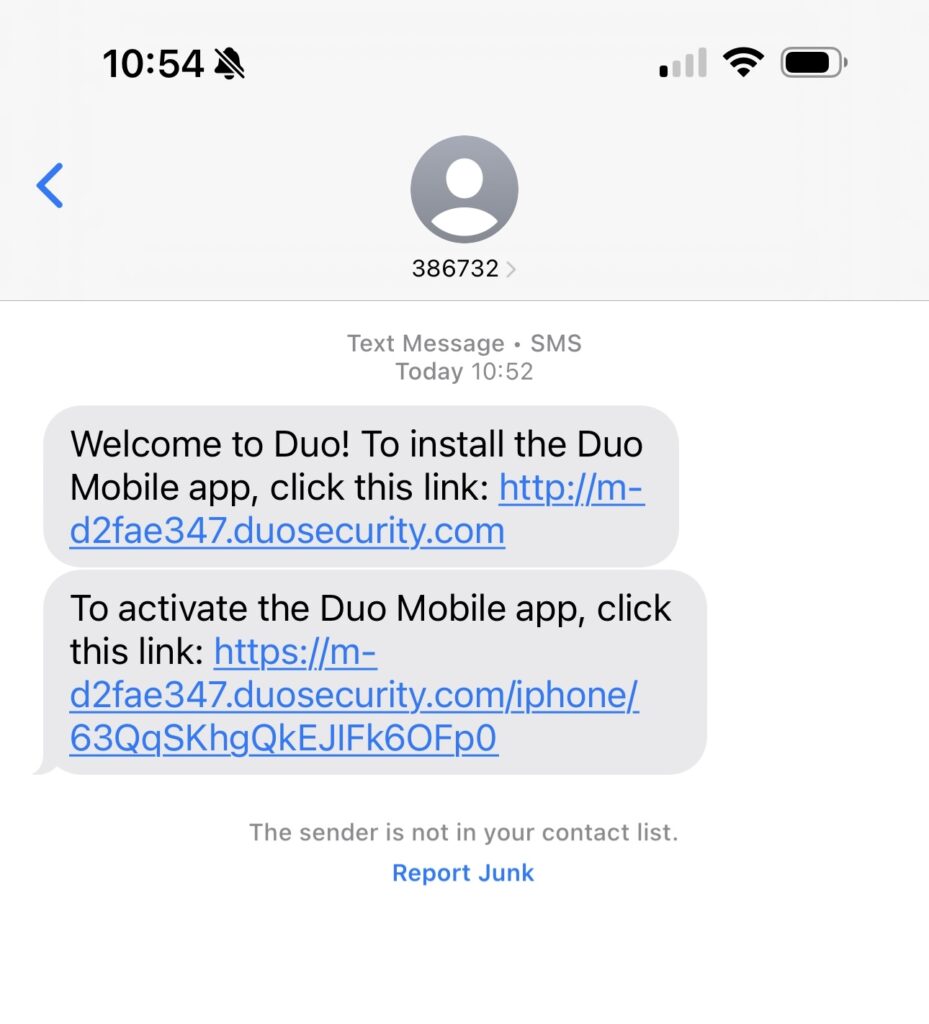
Note: These texts are only valid for 24 hours. If your link to activate Duo Mobile has expired, please call our helpdesk and they will assist you in sending a new activation text.
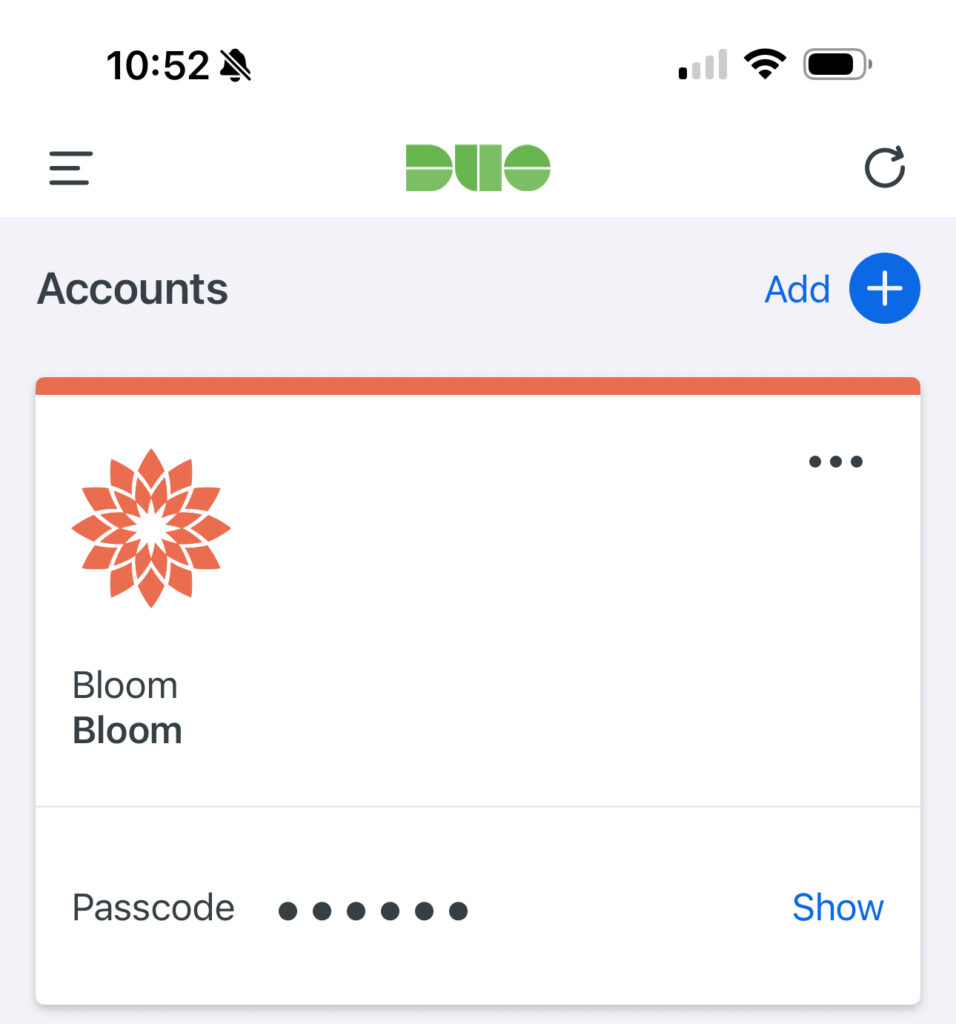
Once this finishes and you see “Bloom” in the app, you will have completed the Duo mobile application setup, as you can see below.
Password Setup
Selecting a Good Passphrase
Before setting up your Bloom passphrase, review what makes a good password. Bloom uses longer passphrases instead of traditional passwords. For example, a passphrase like “All 1 do is win, win, win, no matter what!” is easier to remember than a password like “@1d1WWWnmW”, even though they are based on the same thing.
A good passphrase should:
- Be at least 15 characters long (Bloom requires this minimum).
- Include at least 3 of the following character types: Lower case letters, Upper case letters, Digits, Special characters
Before proceeding, we recommend that you choose a passphrase that meets these criteria.
New Hire Password Reset Guide
Step 1:
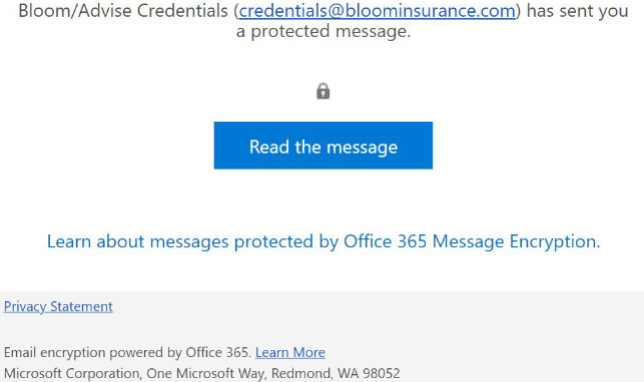
Prior to your first day at Bloom, you will receive a secure/protected email from [email protected] with a subject line of “[no reply] Your Bloom Login Credentials”. This email contains information on accessing your account and changing your password. You will want to perform your initial password change prior to your day 1 onboarding.
Step 2:
Read the secure/protected message by clicking “Read the Message”
If you are using a Microsoft 365/Outlook email, there should be no further steps for you to view the email. If you are using Gmail, Yahoo, or another email provider, please follow the steps below depending on who your email provider is. Please note that some email providers will require that you use a single use code to view the contents of this email.
Click the link below that best describes your situation:
- I am working on a PC or a laptop, and I get prompted for a single use code when I click “Read the Message”
- I am working on a mobile phone or a tablet, and I get prompted for a single use code when I tap “Read the Message”
- I am working on a PC or a laptop, and I see “Sign in with…” when I click “Read the Message”
- I am working on a mobile phone or a tablet, and I see “Sign in with…” when I tap “Read the Message”
Here is an example of what you should expect to see in the email:
Step 3:
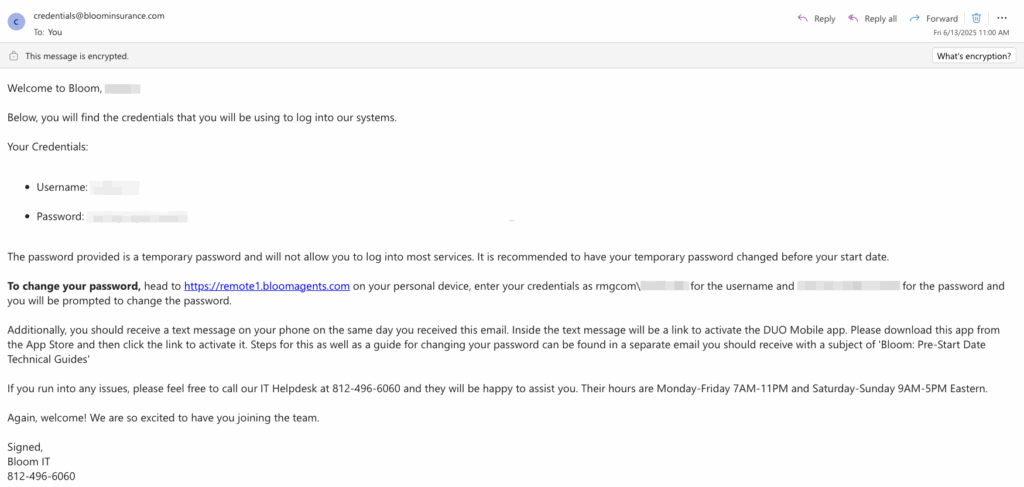
Once you have access to the message containing your credentials, you can log in and reset your password. Follow the instructions below to login and complete your initial password reset.
Open your preferred web browser and navigate to https://bloomagents.com. When the website loads, you should be greeted with a screen like the one shown below:
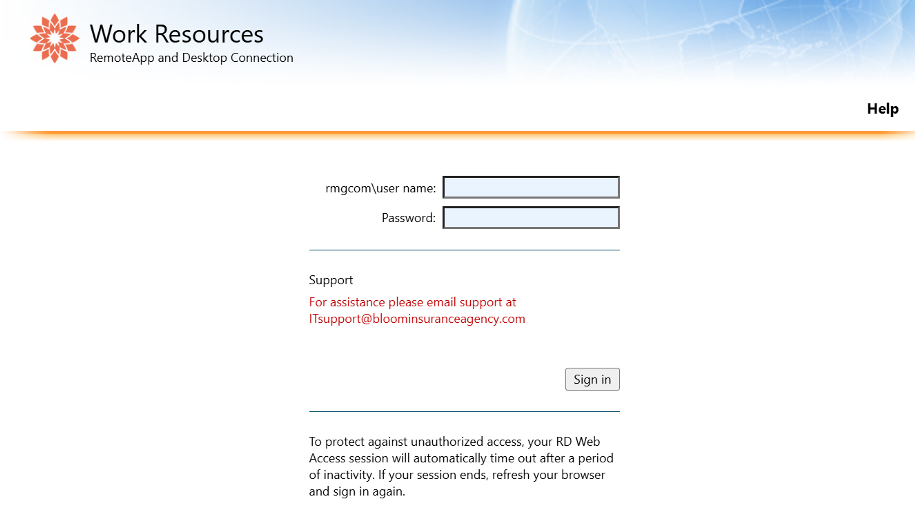
Fill out the username and password fields as follows:
- Username: rmgcom\username. For example, “rmgcom\hsimpson“. You will find your username in the credentials email.
- Password: Use the temporary password provided to you in your credentials email. This will also be your “current” password for the next screen.
Once you have filled out the two fields, click the “Sign in” button. The site will then inform you that your password has expired.
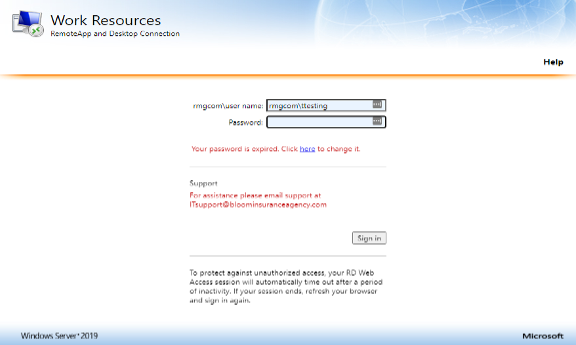
Click the link “here” under the password field and you will be redirected to a new page to set your password.
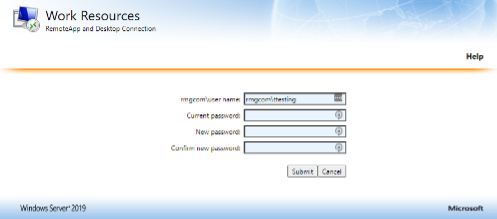
You have completed the initial process of setting up your passphrase and Duo mobile app. The next page of this guide will outline the setup of your Bloom provided equipment.
Note: If you need assistance when creating a new password, refer to the section Selecting a Good Passphrase to ensure that your password meets the criteria listed.
Equipment Setup Guide
Equipment Checklist:
- Laptop
- Docking Station
- 1x or 2x Monitors
- 1x or 2x Monitor Video Cables
- Headset (Shipped Separately)
- Webcam
- Ethernet Cable
- Surge Protector
- Mouse
- Keyboard
- Laptop Power Adapter
Setup Instructions
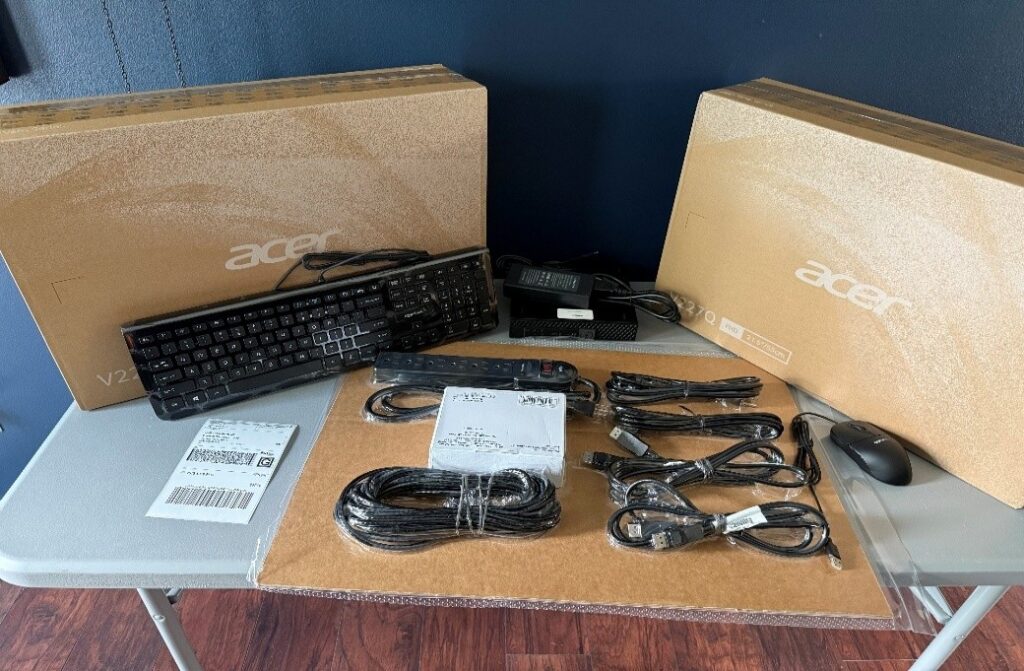
Step 1:
The photo below is an example of what is included in your Bloom hardware kit. Use the checklist above to confirm you received all the items. Please note: your headset will be sent separately via Amazon.
Step 2:
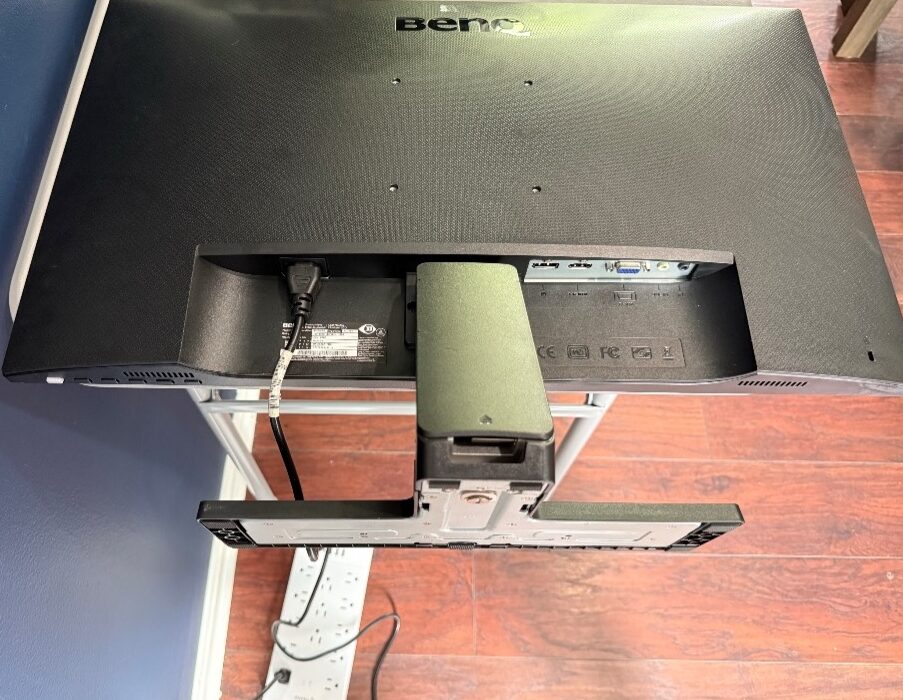
Plug your monitor power cable into the back of the monitor, as seen below. Repeat this step for the second monitor if you received 2 monitors.
Step 3:
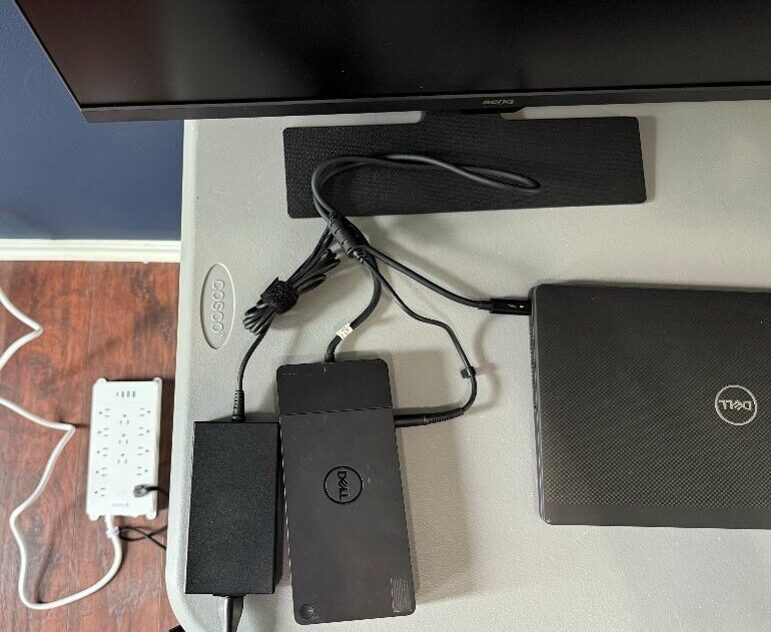
Locate your laptop and docking station. Plug your docking station into your laptop as shown in the picture below:
Please note: Your docking station will charge your laptop. Therefore, we recommend you use the included laptop charger when traveling or working away from your desk.
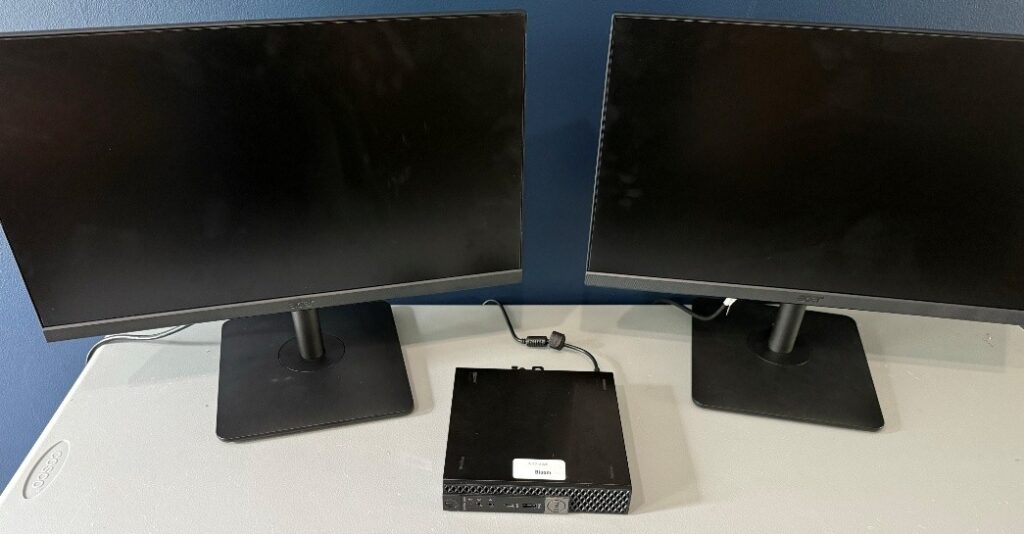
Once both your PC and monitors are connected, your setup should look something like this in the photo below.
Step 4:
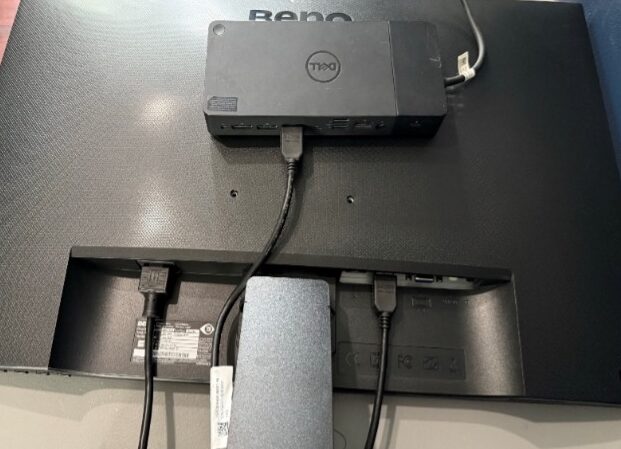
Locate your monitor video cables and plug them into both the docking station and the monitor(s). An example is shown below:
Step 5:
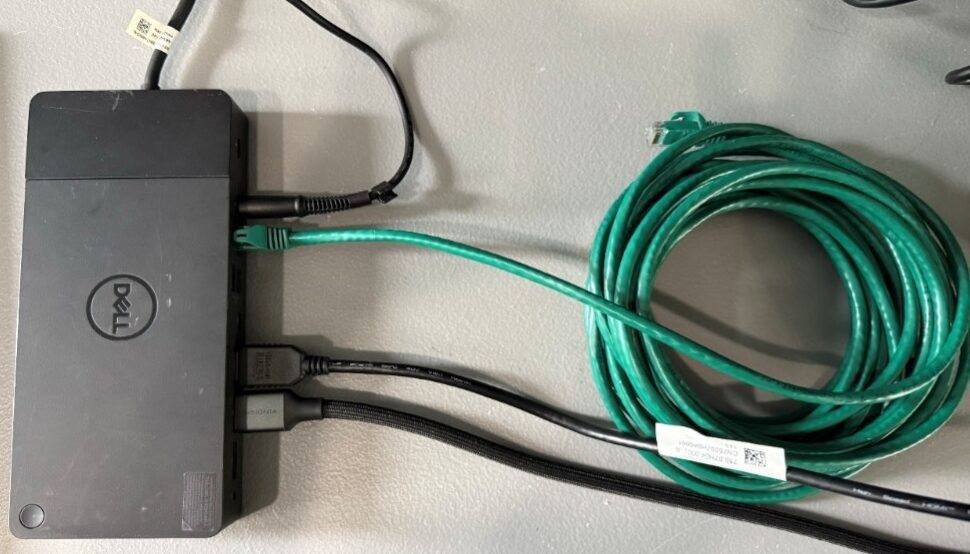
Once you have both of your monitor video cables plugged in, it’s time to plug in your ethernet cable. Connect one end to your docking station’s ethernet port, and the other end to your router’s ethernet port. An example of the docking station is shown below:
Step 6:
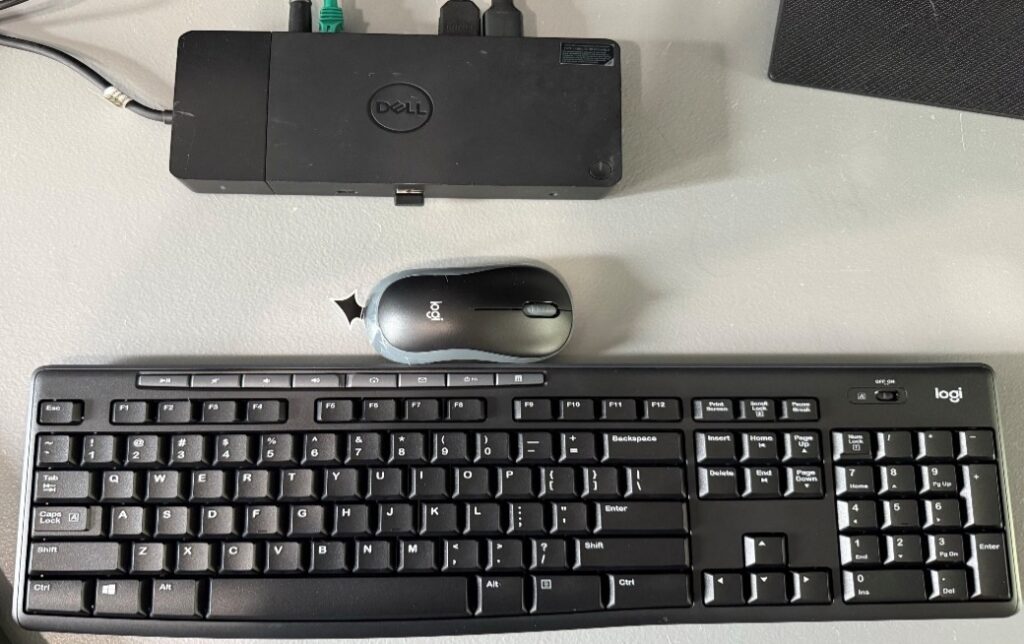
Lastly, plug in your keyboard, mouse, webcam and headset into the four USB ports on the back of the docking station. Please note that you may have received a wireless mouse and keyboard combination.
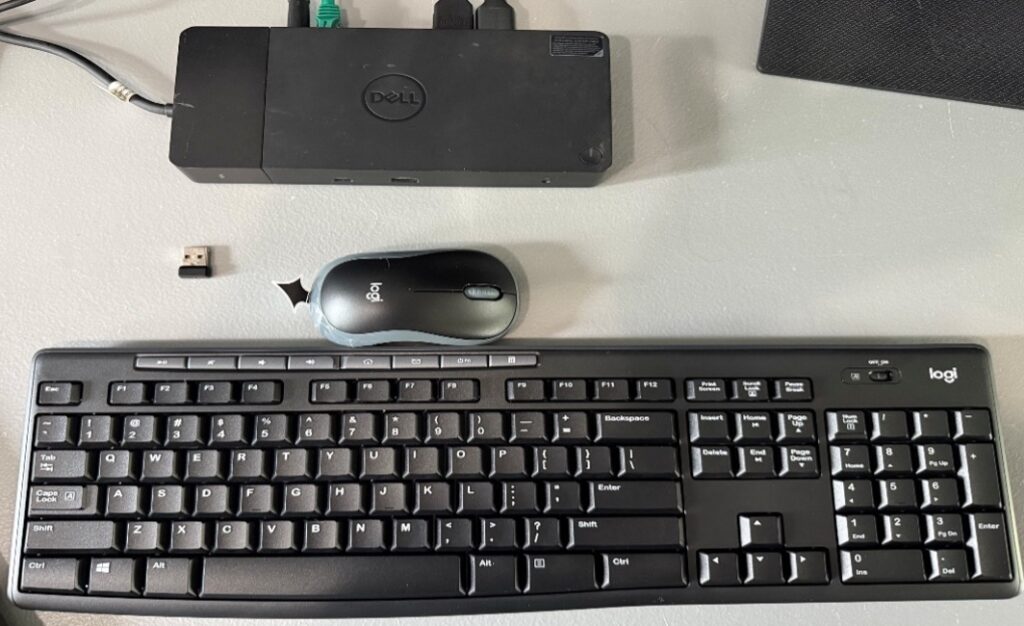
Inside the keyboard box, you will find a USB dongle that connects to both the mouse and keyboard. Please plug the dongle into the docking station and flip the on/ off switch to on, on the bottom of the mouse and keyboard. An example is shown below.
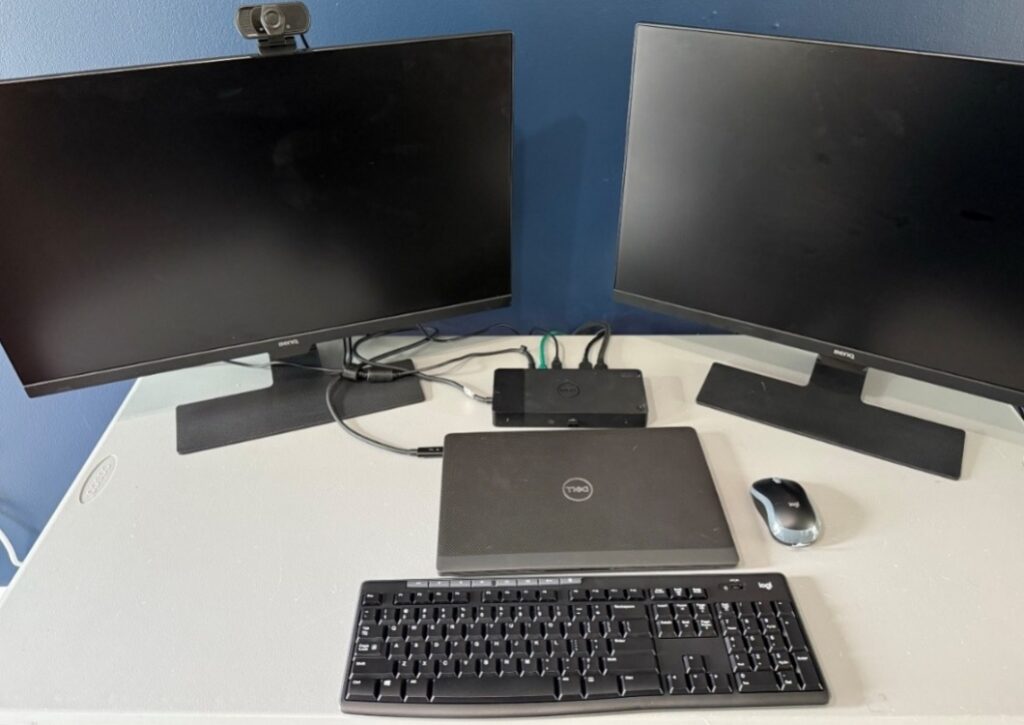
Once you have plugged in all items, you have completed the setup guide! Your work from home setup should look like the image below.
Logging Into Your Computer for the First Time
Once your PC powers on and is showing something on at least 1 monitor, follow the instructions below to complete the initial setup of your WFH PC. Please note: If you have 2 monitors, the initial setup screens may only display on one of the 2 monitors. This is normal.
Important: You will want to make sure that you are set up with DUO on your personal device before logging in, as this is required to successfully complete the login process.
Step 1:
Select the “United States” region and then click the “Yes” button located in the bottom right of your screen:

Step 2:
If prompted to add a second keyboard layout, click “Skip.”
Step 3:
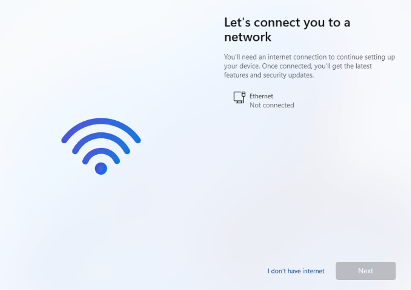
Next, you will be prompted to select your network. To have the best and most stable connection during the initial set up process, you need to use a wired network connection rather than a wireless network connection. Once you are connected, click the “Next” button located in the bottom right corner of your screen to prompt the next steps. See the example below.
Step 4:
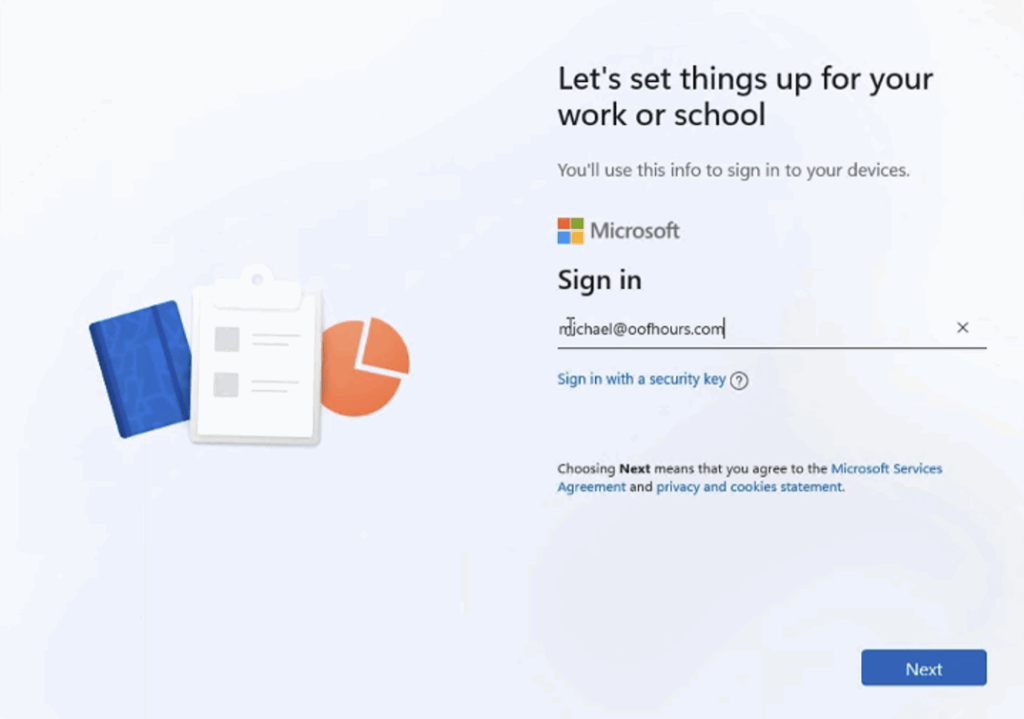
As shown in the image below, you may be asked how you want to set up your computer. If you do see this screen, select “Set up for an organization”. You will need to enter you work email address, which was included in the credential email. Click “Next” after you have entered your work email address.
Step 5:
On the next screen, you will be prompted to enter your email address and password. Once entered, click “Sign In” and you will then be prompted to accept a DUO push on your smartphone. Be sure to accept the push as this will initiate the sign-in process to complete the setup.
Step 6:
After you have logged in, it is possible that you will be asked to create a PIN. You are welcome (encouraged) to skip this if it is possible.
If you configure a PIN, it must be more than 6 digits in length. Do not use your phone number.
A Windows Hello PIN cannot be used to access email, other Microsoft Products, or any Bloom resources.
Important: DO NOT turn off your PC after signing in. Please allow your PC to run any necessary updates and installations running in the background after the first-time sign in. Continue onto the next steps within your chosen web browser.